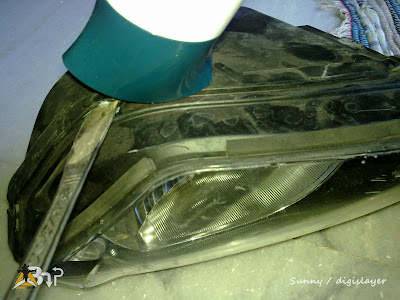
First, heat the seams like this using a hair dryer:
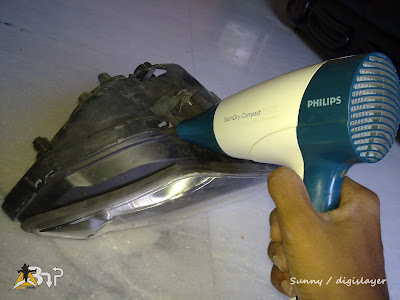
Keep heating around. Start from the bottom, this way damage wont be visible outside even if you mess up a little. Start with the rounded corner, do not start with sharp corners. From the rounded corner, cover the entire bottom flat.
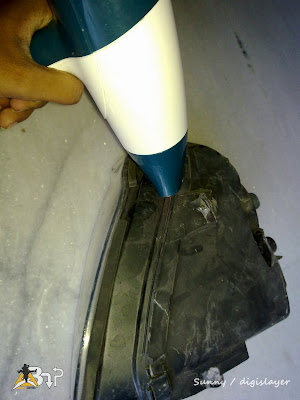
Lift up all the fasteners like this after heating them first.
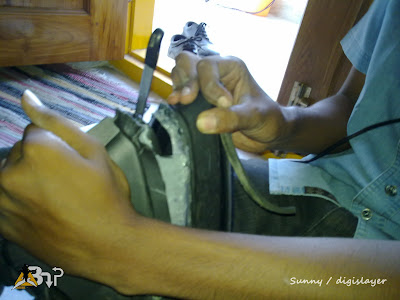
Now, insert a butter knife/ flathead screwdriver into the seam that's heated for around 5mins atleast.
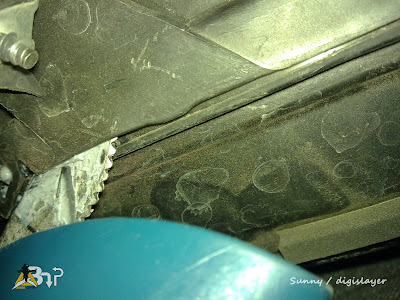
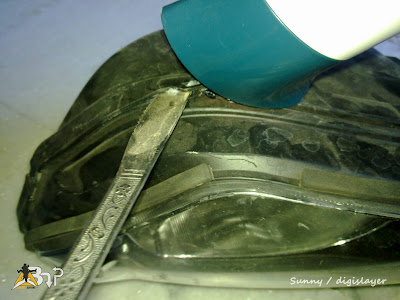
Slowly slide the butter-knife along the seam while simultaneously applying heat over it. Slide along the same seam 3 to 4 times to loosen up the adhesive.
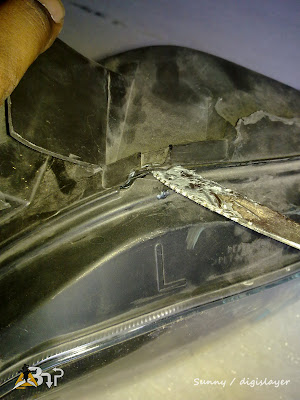
Now, push the butter knife further inside until the knife cuts through the adhesive and try to pry the lens apart. Be careful to not cause any deformations while doing so. Be patient and work through this patiently, this is the only hard step here.(keep heating simultaneously all the while)
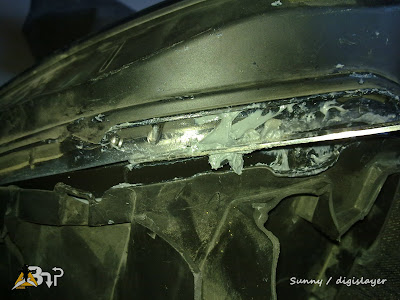
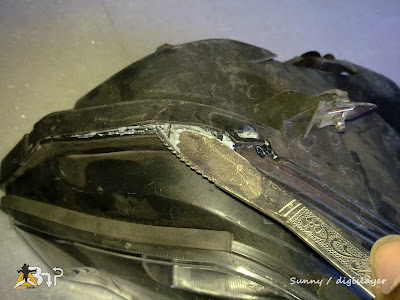
Notice how the plastic edge is deformed here, this shouldn't happen.
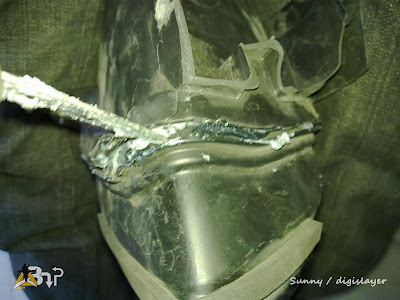
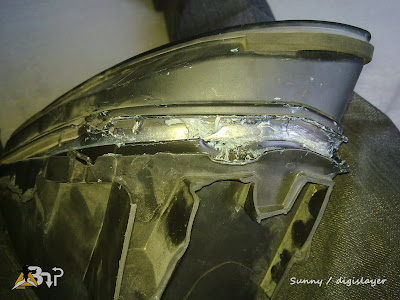
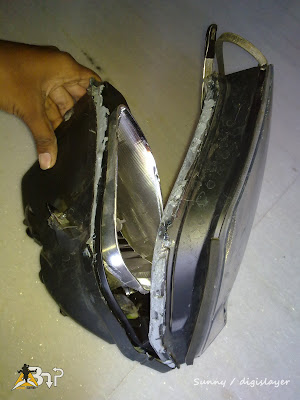
Once you're succesful in prying the lens apart slightly, heat all around the seam, and pull the assembly and lens apart while heating the adhesive that stretches like this:
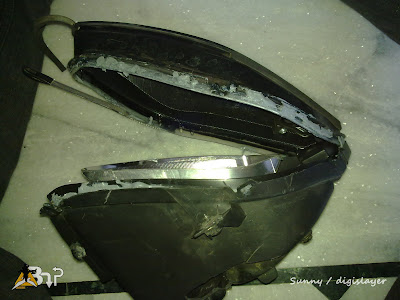
The rounded corner needs to be pried first like this:
Once half the assembly is pried apart at the rounded corner, you can pull the remaining part apart by using plain arm-force. Use heating if necessary while doing this.

No comments:
Post a Comment